离线安装还Docker后,在离线安装一个Nginx镜像,实现的方法,首先要在有网的地方将nginx镜像导出,然后在复制到内网环境中安装。
在有网环境中将镜像打包
- 先去pull一个最新的nginx镜像
docker pull nginx
- 然后将镜像导出
  docker save e445ab08b2be -o /Users/zhouyanwei/Desktop/nginx.tar
              镜像的ID         保存的本地目录+文件名.tar
- 然后在本地会有生成一个打包好nginx.tar文件(或者上面自定义的名字)。
在专网环境中安装
- 把这个压缩包放到内网中执行
docker load -i nginx.tar
- 然后docker images 看一下当前的镜像

此时 REPOSITORY 和 TAG 都为none
在重新标记下标记一下就好了
docker tag e445ab08b2be nginx:latest
- 然后docker images 看一下当前的镜像

启动一个ngixn容器
docker run --name nginx -d -p 8090:80 nginx
第一个 nginx 容器名称。 -d设置容器在在后台一直运行。 -p 端口进行映射,将本地 8090 端口映射到容器内部的 80 端口。
可能会遇见的错误

解决办法,是因为selinux开启导致docker run失败。
vim /etc/selinux/config
把 SELINUX项修改为disabled,然后重启CentOS系统。
重启后在执行启动命令就成功了。
docker start nginx
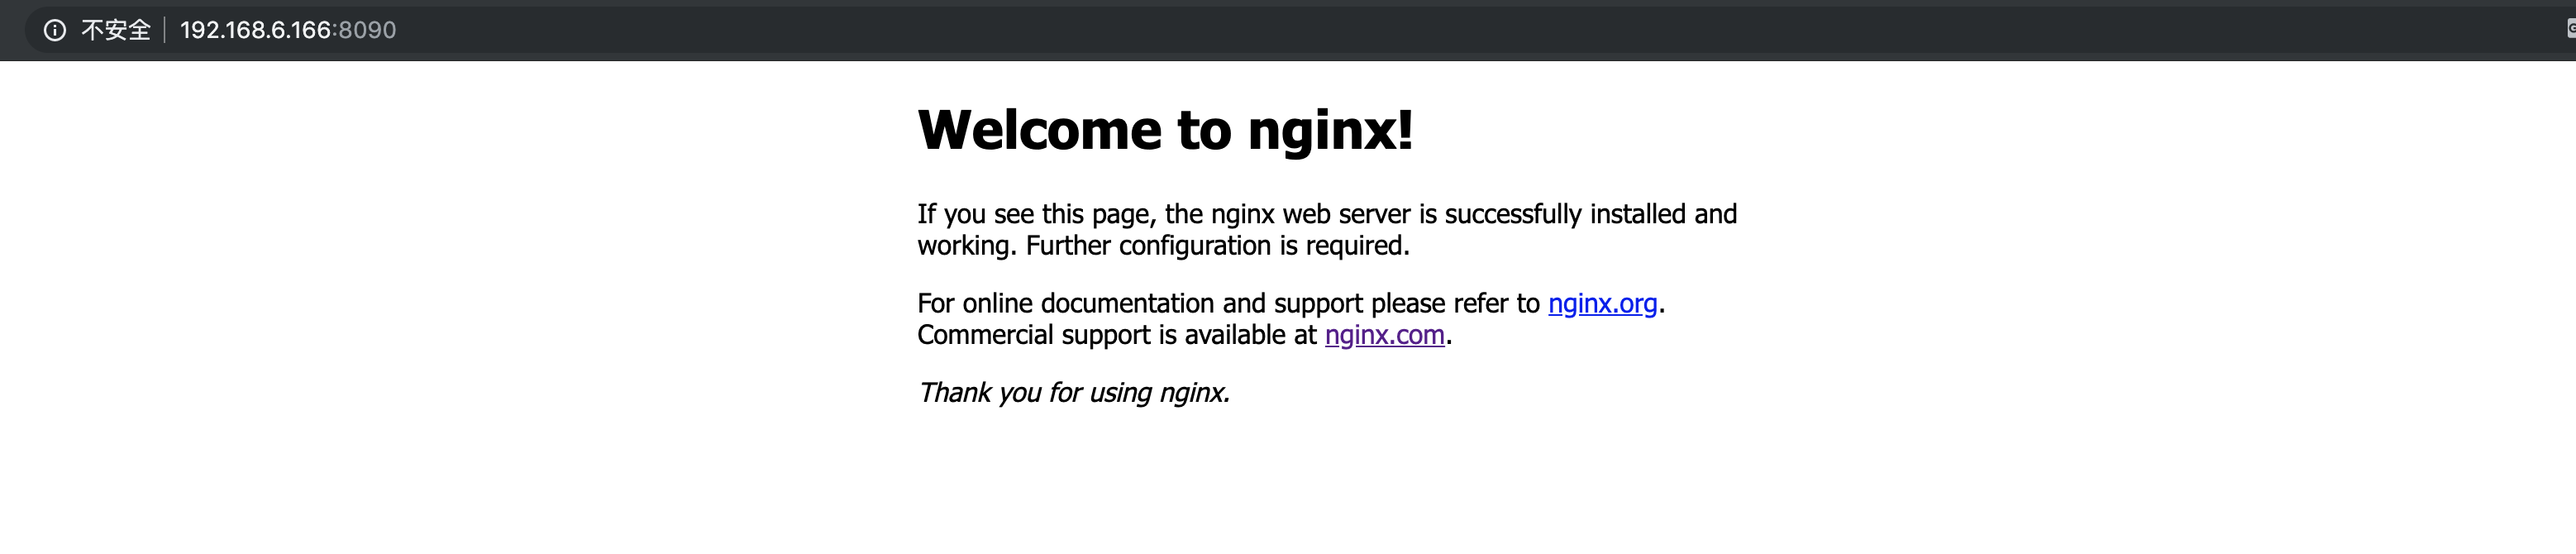
- 此时我们在浏览器中访问当前地址加端口号就能访问成功了。
部署 nginx
单单是把nginx启动了并不是我们的最终目的,最起码我们有一个存放文件的地方,还要能修改conf文件,还要能看log吧。
首先创建ngixn目录,在目录下分别创建这三个目录进行存放。
www: 目录将映射为 nginx 容器配置的虚拟目录。 logs: 目录将映射为 nginx 容器的日志目录。 conf: 目录里的配置文件将映射为 nginx 容器的配置文件。
mkdir -p ~/nginx/www ~/nginx/logs ~/nginx/conf
此时会在root文件夹下创建nginx文件夹,下面有三个文件夹。其他账户登录要去home文件夹下当前登录的用户文件夹下查找。
- 然后我们将当前ngixn默认的配置文件拷贝到我没呢新建的nginx/conf文件夹下。
  docker cp 01d9251b8255:/etc/nginx/nginx.conf ~/nginx/conf/
            容器id,可使用 docker ps 查看
- 在重新部署nginx
docker run -d -p 80:80 --name nginxpro -v ~/nginx/www:/usr/share/nginx/html -v ~/nginx/conf/nginx.conf:/etc/nginx/nginx.conf -v ~/nginx/logs:/var/log/nginx nginx
-p 80:80: 将容器的 80 端口映射到主机的 80 端口。 --name nginxpro:将容器命名为 nginxpro。 -v ~/nginx/www:/usr/share/nginx/html:将我们自己创建的 www 目录挂载到容器的 /usr/share/nginx/html。 -v ~/nginx/conf/nginx.conf:/etc/nginx/nginx.conf:将我们自己创建的 nginx.conf 挂载到容器的 /etc/nginx/nginx.conf。 -v ~/nginx/logs:/var/log/nginx:将我们自己创建的 logs 挂载到容器的 /var/log/nginx。
- 然后我们进www文件目录创建一个index.html。
vim ~/nginx/www/index.html

12 月 2 日更新。 遇到的问题 如何添加代理
docker中的nginx配置文件不单只是一个nginx.conf
先执行命令进nginx交互模式里看一下nginx的结构
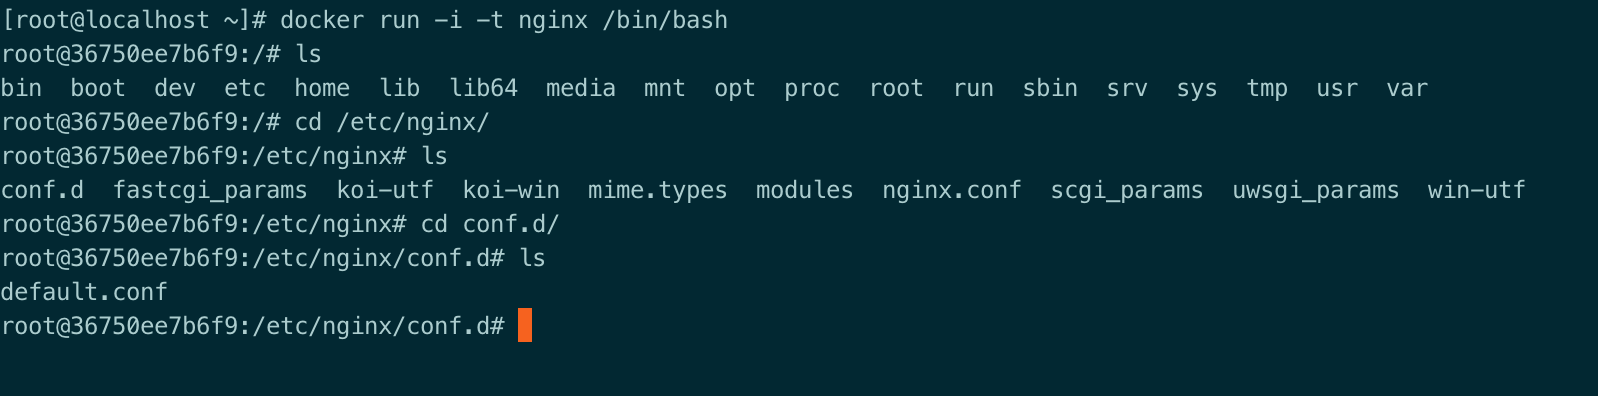
要把自己创建的目录和容器对应上才可以。
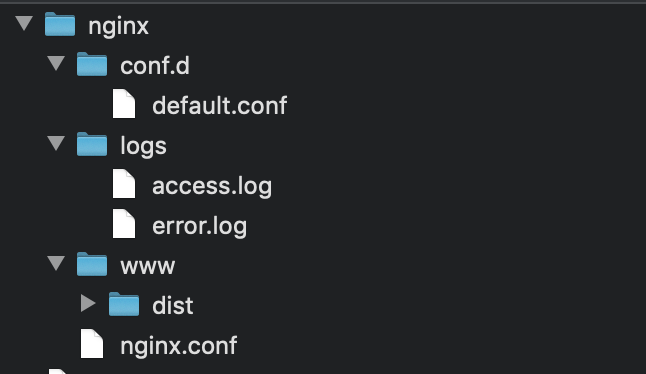
所以还需要重新部署ngixn
docker run -d -p 80:80 --name nginx \
    -v ~/nginx/www:/usr/share/nginx/html \
    -v ~/nginx/nginx.conf:/etc/nginx/nginx.conf \
    -v ~/nginx/conf.d:/etc/nginx/conf.d \
    -v ~/nginx/logs:/var/log/nginx nginx
在default.conf重设置代理就可以生效了。